
WordPress.com a good blogging platform for a beginner to start a career with, but as the time passes you realize the real potential of blogging for yourself, for making money or for the business, and you want to move your WordPress.com blog/site to a self-hosted WordPress (WordPress.org). Here is the detailed guide which will guide you through all the steps required to move your site to a self-hosted server.
Confused between WordPress.com and WordPress.org, don’t worry we will cover this up in our upcoming post. For now, focus on this post and let’s start.
Table of Contents
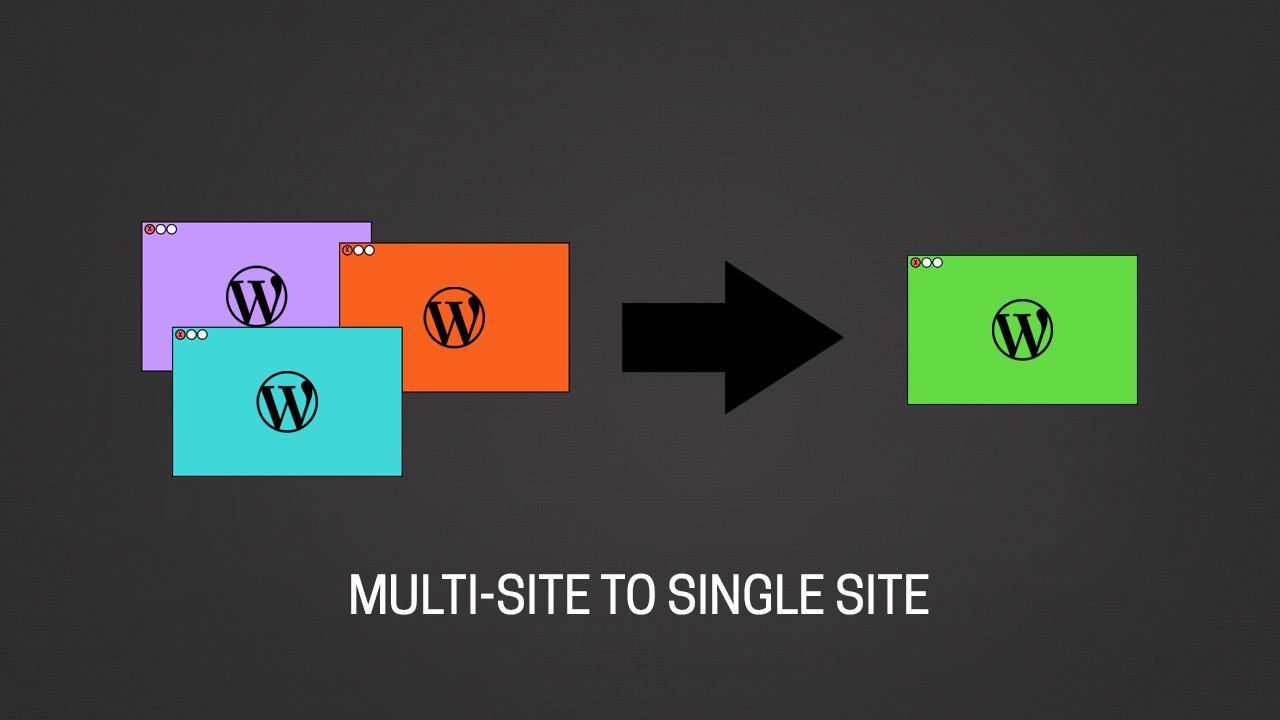
Moving Blog From WordPress.com to Self-hosted WordPress:
Exporting blog from WordPress.com:
To get started with the process, the first step you need to do is exporting data from your blog. Follow the simple steps to export your data:
There are two ways to export your data from WordPress.com:
- By WordPress.com account
- By your domain name WordPress Dashboard.
In this tutorial, we are going to discuss both ways. Let’s start with the first one.
1- By WordPress.com account.
- Login on to WordPress.com with your Username and Password.
- Go to Settings
- Then choose the Export tab and then click on export all button.

After clicking on the Export All button, a download button will display, click on the download button to start downloading the export files.

2- By WordPress Dashboard using Domain name:
- Login to your WordPress.com Dashboard Using Custom Domain
- Go to Tools > Export
- Select All Content

Click on the Download Export File button to export your data. Downloading will automatically start after clicking on the Download Export File button, and this will download the .xml file of your WordPress.com blog content.
Now, the next step is simple, and all you need to do is setup WordPress on new hosting and import your .xml file. (All the necessary steps are given below)
Install WordPress(Self-Hosted) and Import content from WordPress.com:
In my case, I’m using BlueHost as my hosting and installed WordPress on it. Click here to see step-by-step guide on how to start blog
Note: If you are migrating your site/blog with a custom domain name, then you need to change the name server of your domain name(Guide to update the name server will come in the upcoming posts)
Once you have done installing WordPress on your self-hosted hosting, then login to your newly installed WordPress admin dashboard and delete all default post and page. After that go to Settings > Permalink and select day and name as your permalink structure.

After changing the permalink, Now go to Tools > Import > WordPress and then click on the Install Now link and then click on Run Importer.


Note: Many web hosting provide upload limit up to 2mb only. You need to check the size of your exported .xml file (downloaded from WordPress.com) and make sure that your hosting has more upload limit than the file itself. For example, in the above screenshot, you can see maximum size: 128 MB.
- Siteground offers 128MB upload limit(Up to 60% off)
- Bluehost offers 10MB upload limit by default(Up to 65% off)
If you need to increase the upload limit, you can edit the php.ini file, or you can ask your hosting company support team, and they will do it for you. Here is few workaround from official WordPress support forum maybe it will help you.
After the file successfully uploaded, it will ask you to assign the author, and you have three options to choose:
- Same author as on WordPress.com(by default)
- Create new author to assign
- Choose from the existing author(s)

You can select ‘Download and import file attachments” option if you want to import all your images and uploaded files to your hosting. If you have too many attachments, this might fail, and you need to repeat the above steps.
In my case, I have only one test post to import that’s why it successfully imports in a single try. But maybe in your case, if you have too many images, then you need to repeat the same step again. You can also use a plugin later to import all images from WordPress.com to your self-hosted WordPress blog (Optional).
Import Images from WordPress.com To Your Hosting:
If in your case, the import attachments were unable to import all the images, you can use a plugin call Import external images. This is a simple plugin which let you import all external images in your blog to your hosting account.
- Install and activate the plugin (Click here to learn how to Install and activate plugins in WordPress)
- Go to Media > Import images
- And click on Import images

Depending upon the number of posts and images, this will take few minutes to import all images from WordPress.com. Once that is done, you will ready to proceed with the next step.
After using this plugin, you should also use Cache images plugin to scan your site one more time.Using Cache images plugin; it imported all images from files.wordpress.com.
301 redirection using Official Site Redirect add-on
The last step is important as you need to make this migration search engine friendly. That is done when your WordPress.com blog address is automatically getting redirected to your new domain. This way you will not lose any traffic or links pointing to your site. WordPress offers an add-on call site-redirect which cost only $13/year and it offers 301 perma-redirect. (Search engine friendly redirect so that you don’t lose traffic after moving your WordPress.com blog to self-hosted WordPress platform).

Go to your WordPress.com site dashboard, click on Store, it will automatically redirect you to the WordPress.com’s plan page. Now Go to Plan > Domains and buy Site redirect add-on. Add your domain name there, and this will take care of 301 redirections (Search engine friendly redirection).

Migration Completed! 🙂
Should You Delete your WordPress.com blog?
If you are using the Site-Redirect feature, you should not delete your WordPress.com blog. Also, if few of your files (Images) are still hosted on WordPress.com even after migration, you should not delete your blog.
What should you do with your WordPress blog?
Go to settings> reading in your WordPress.com blog and select the option which says “Search Engine Visibility.” This will discourage search engine to index your WordPress.com blog. This will not affect your new blog in any way.
If you have any questions regarding migrating your free WordPress blog to self-hosted or face any issue while following this guide, feel free to let me know via comments. Don’t forget to share this guide with others WordPress.com users, which will help them to migrate their blog. Thanks 🙂

Hi, I read your blogs like every week. Your writing style
is awesome, keep doing what you’re doing!